




Dead by Daylight's Top 9 Survival Strategies to Increase Your Chances
- Introduction: Why Is Survival in Dead by Daylight So Difficult?
- The Best 9 Dead by Daylight Survival Strategies
- 1. Generator Prioritization: Which One Should You Complete First?
- 2. Loop Management: The Art of Buying Time
- Visibility and Awareness: Reading the Map
- 3. Using Audio Cues
- 4. Using Aura-Reading Perks Correctly
- Perk Synergy: The Right Combinations
- 5. Meta Perk Combinations and Why They Work
- 6. Changing Perks Based on Situation
- Team Coordination: You're Stronger Together
- 7. Hook Rescue Timing
- 8. Staying Under Generator Pressure
- Map Knowledge and Positioning
- 9. Exit Gate and Hatch Management
- Software-Assisted Visibility Tools: ESP and Aura Features
- Conclusion
- Frequently Asked Questions (FAQ)
- Which is the best survivor in Dead by Daylight?
- When should I stop working on a generator?
- How do ESP tools work in DBD?
- What should I do if the killer is "tunneling" me?
- Where does the hatch spawn?
- How do I coordinate with my teammates?
Introduction: Why Is Survival in Dead by Daylight So Difficult?
Dead by Daylight is one of the rare games where its asymmetrical structure and constantly updated content require you to play every match under different pressure. On one side, 4 survivors; on the other, a killer trying to control the entire map. Completing generators and escaping through the door sounds simple; however, against an experienced killer player, this goal can turn into chaos within minutes.
So what makes the difference? The vast majority of players in the top rows of the scoreboard don't play the game with reflexes alone; they play with deep mechanics like map reading, resource management, team coordination, and perk synergy. Beneath DBD's surface lies an incredibly broad layer of strategy, and the earlier you discover this layer, the faster your survival rate per match will increase.
In this guide, we're not giving you a pile of theoretical knowledge, but 9 directly applicable, field-tested strategies. Each focuses on a different phase of the game: early generator planning, loop management under killer pressure, hook rescue timing, aura reading, and much more. Whether you're a newcomer or an intermediate player stuck at a certain level, every point on this list will give you a concrete advantage.
Additionally, if you're looking for software-based solutions for in-game visibility, position awareness, and reading enemy movements, you can check out our Dead by Daylight product category. There you'll find tools with features like ESP, aura viewing, and speed optimization waiting for you. Now let's move on to the strategies.
Summary: To increase your survival rate in DBD, generator prioritization, loop knowledge, perk synergy, and team coordination are critical. These 9 strategies provide you with concrete advantages at every stage, from early game to escape phase.
The Best 9 Dead by Daylight Survival Strategies
1. Generator Prioritization: Which One Should You Complete First?
As soon as the match starts, you should create an active map model in a corner of your mind. Which generators are close to each other? Which one is in the center of the map, therefore easily controllable by the killer? To avoid leaving the killer with the meta strategy known as "3-gen," you need to observe the generators in the first 60 seconds of the match. If there are 3 clustered generators in the middle, complete one of them first; this shrinks the triangle area the killer can defend. Isolated generators on the map's edges are generally safer because the killer takes more time to reach them. If you can communicate with your team, directing two people to the same generator (especially for the first generator) dramatically speeds up match tempo. When two survivors work on the same generator, completion time shortens by approximately 40%; this is the fastest way to create pressure on the killer.
2. Loop Management: The Art of Buying Time
When running from the killer, your goal isn't just to avoid being caught, but to buy your team time to complete generators. A good loop player can keep the killer busy for 60-90 seconds, giving their team room to progress 2-3 generators. Memorize pallet locations: every map has certain "strong loops." For example, the grain silos on Coldwind Farm or the large structures on Macmillan are spots where you can keep the killer circling for a long time. When to drop the pallet is critical: drop it too early and the killer vaults over it, drop it too late and you get caught. Watch the killer's animation and drop the pallet during the "lunge" moment. Also, learn "mind game" positions — L-shaped walls and T-junctions are ideal for confusing the killer's direction.
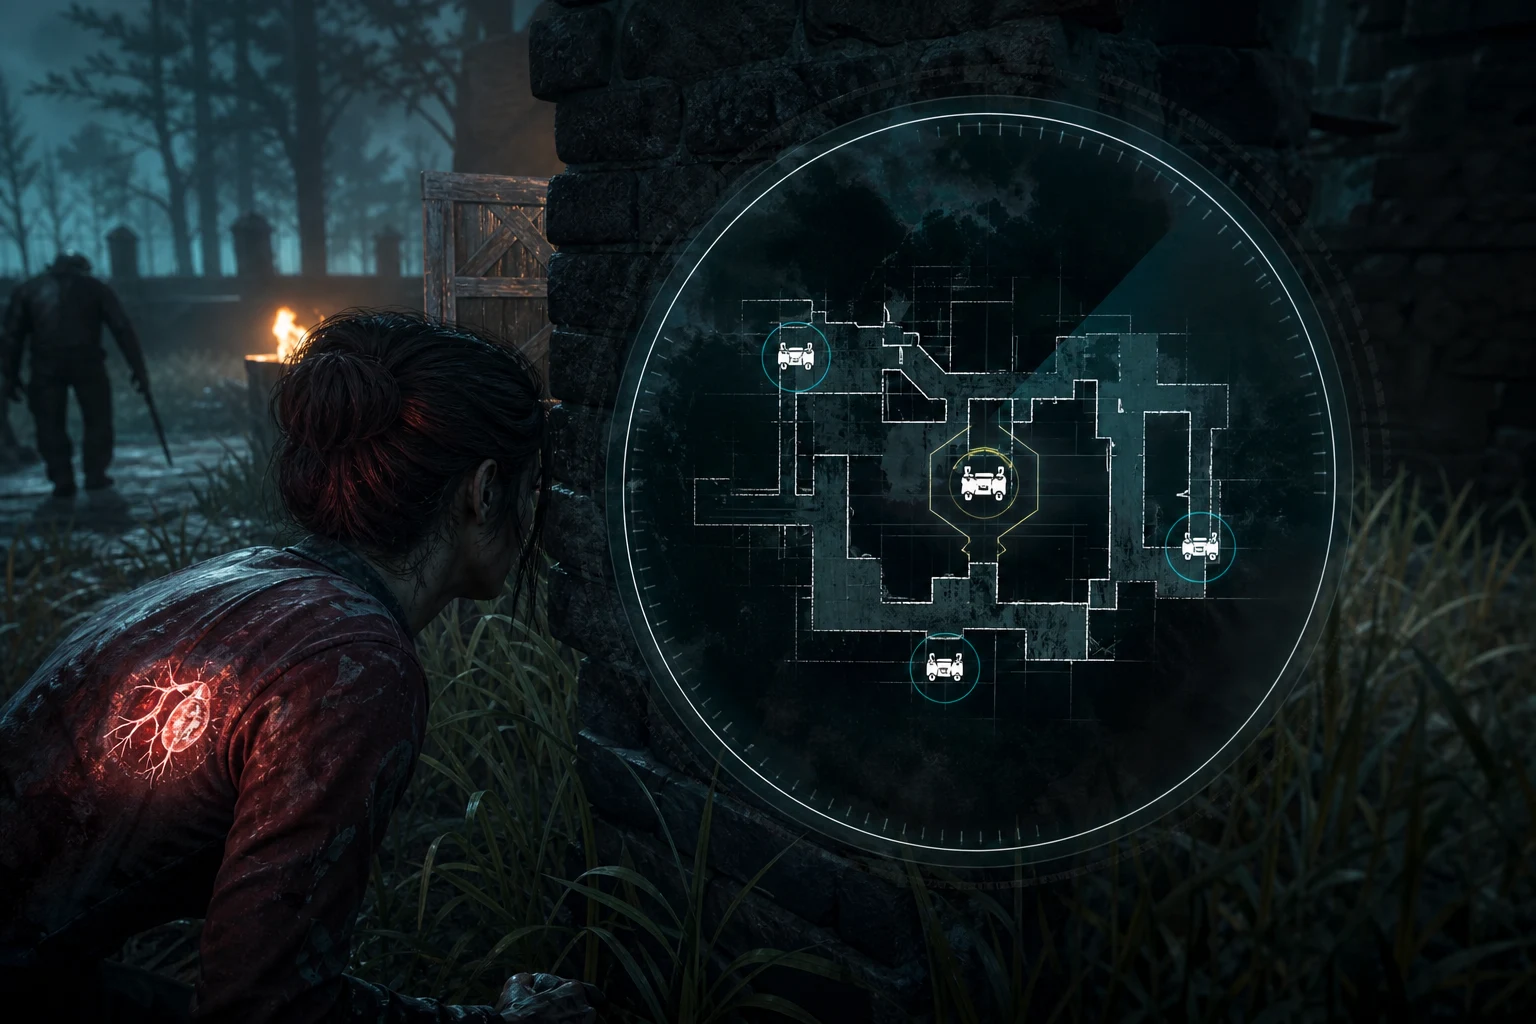
Visibility and Awareness: Reading the Map
3. Using Audio Cues
DBD is as much an auditory game as it is a visual one. The killer's sound effects tell you the direction and distance of their approach. Each killer has unique footstep sounds, music themes, and ability sounds. For example, Wraith's bell, Hillbilly's chainsaw sound, or Nurse's breathing; these aren't just aesthetic but strategic warnings. Playing with headphones provides a huge advantage in this regard. Beyond that, also track the sounds other survivors make: the scream when someone is injured, the cry when hooked, or a generator explosion — you can use all of these as real-time map information. Even without aura-reading perks, sound can guide you like an invisible radar.
4. Using Aura-Reading Perks Correctly
On the survivor side, aura-reading perks incredibly boost game awareness. The "Bond" perk shows you nearby survivors' locations; it's tailor-made for rescue coordination. "Kindred" shows both the killer's and other survivors' auras when you're hooked; this way you understand who can come rescue you and who's on generators. The "Empathy" perk shows injured teammates' auras up to 64 meters away. These perks can be thought of as the organic in-game equivalent of software-based ESP tools. However, if you want to extend this visibility to a much wider area and duration using software-assisted solutions, we recommend checking out our DBD tool category.
Perk Synergy: The Right Combinations
5. Meta Perk Combinations and Why They Work
In DBD, each survivor has 4 perk slots and the right combination can single-handedly determine the match outcome. One of the strongest combinations right now is: Dead Hard + Decisive Strike + Off the Record + Adrenaline. Dead Hard gives you an i-frame (invulnerability moment) when you're about to be caught and grants distance. Decisive Strike stuns the killer for 5 seconds after being unhooked; this is critical to avoid being hooked again. Off the Record hides your aura for 80 seconds after being unhooked and grants "Endurance" status. Adrenaline heals you when the last generator is completed and provides a speed boost. This quartet creates an extremely balanced structure in terms of both survival and team contribution.
6. Changing Perks Based on Situation
Meta perks aren't always the best choice; flexibility based on map and killer is essential. For example, against killers like Spirit or Nurse who are strong in enclosed areas, "Iron Will" (which silences injured sounds) is invaluable. On open maps, speed-boosting perks like "Sprint Burst" or "Lithe" are more valuable. If your team has many new players, you can increase healing speed with "We'll Make It," raising the group's overall survival rate. Try to predict the killer's playstyle before the match in the lobby: is it a slow but powerful killer, or a fast and aggressive one? Adjust your perk set accordingly.
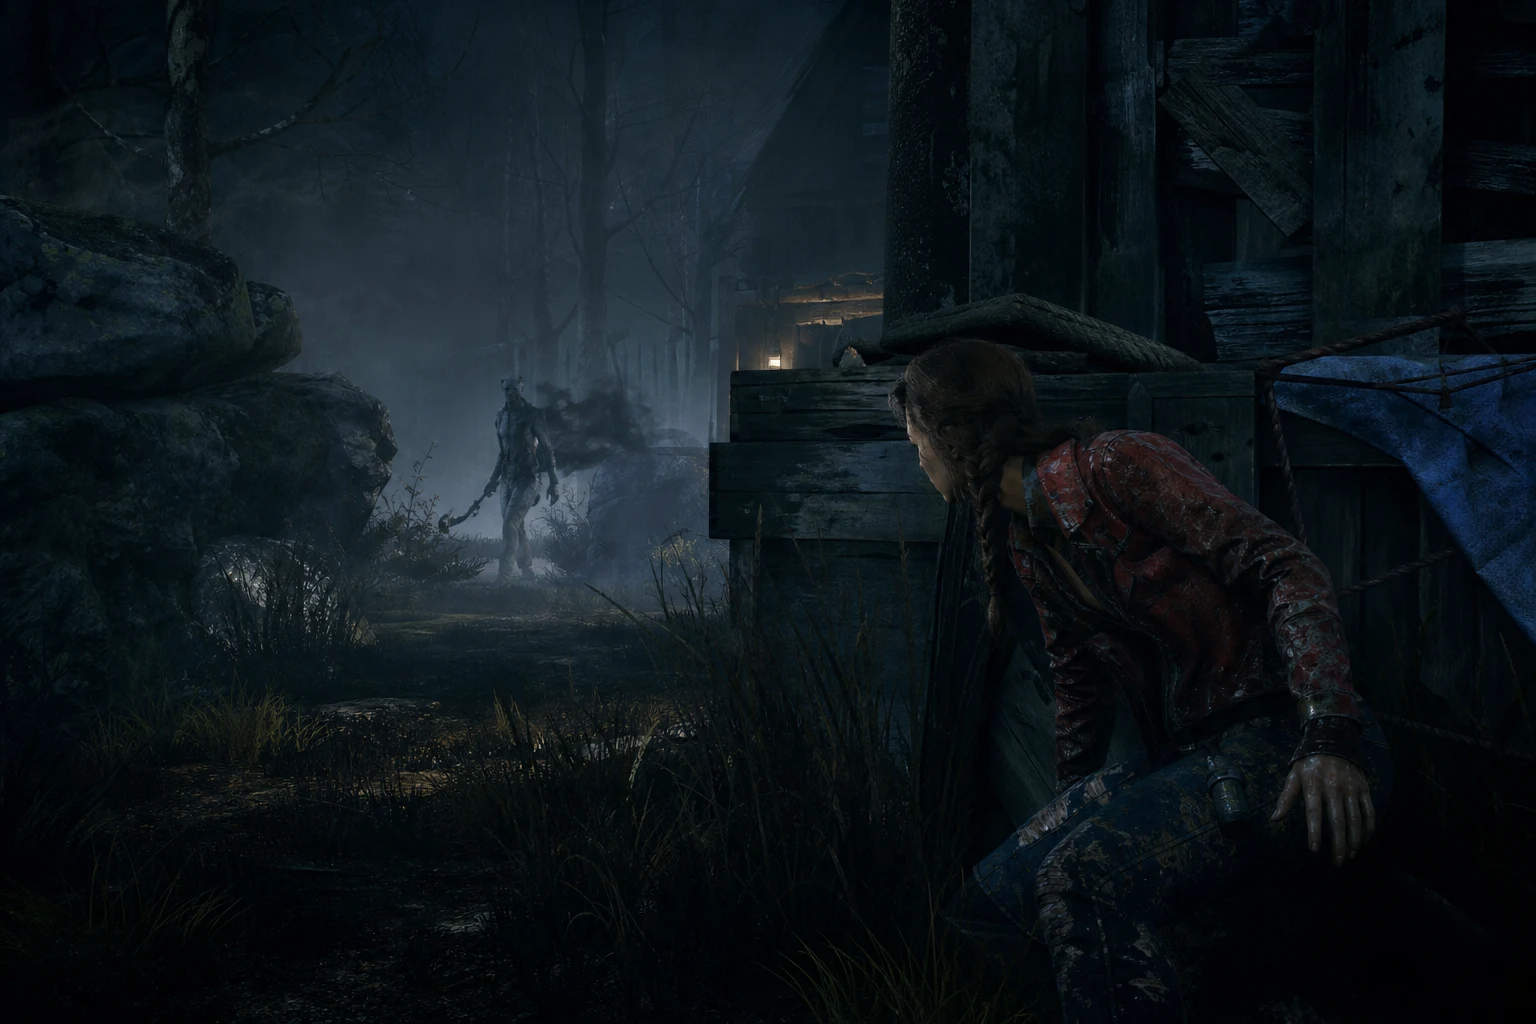
Team Coordination: You're Stronger Together
7. Hook Rescue Timing
Rescuing a hooked teammate is one of DBD's most critical decisions. Early rescue isn't always good: if the killer is still nearby, you fall into the "tunneling" trap (the killer immediately chasing the rescued person again). The ideal rescue time should happen when you see the killer has left the hook or started chasing another survivor. The "Kindred" perk makes this decision easier because it shows the killer's location. Also, keep track of how much time the hooked player has left: they have 60 seconds in the first stage, much less in the second stage (struggle phase). After rescue, choose a safe location to heal; healing in the open puts both of you in danger if the killer returns.
8. Staying Under Generator Pressure
If the killer is actively destroying generators and constantly pushing your team back, think systematically instead of panicking. First, identify which generators are closest to completion. If a generator is over 70%, it might be worth completing even if the killer is nearby — especially if you're getting speed boosts from perks like "Prove Thyself" or "Resilience." While the killer is destroying one generator, move to another; this prevents the killer from setting up a "3-gen" strategy. When 3 generators remain mid-match and they're all close together, your team needs to make a coordinated move: two people on different generators, one focused on keeping the killer busy.
Map Knowledge and Positioning
9. Exit Gate and Hatch Management
The final phase of the match, the 2-3 minutes after the last generator is completed, is the highest-pressure time. Note the exit gate locations from the start of the match; there are two gates on every map and they spawn at specific points. When the last generator is completed, the killer usually heads to control the gates — so knowing the killer's location before you start opening a gate saves lives. If you're the only one left from your team, the "hatch" comes into play. The hatch opens at a random point on the map; however, experienced players know certain spawn patterns. Perks like "Clairvoyance" or "Left Behind" show the hatch location. If the killer closes the hatch, you have a chance to open a gate; in this case, the classic but effective strategy is to lead the killer to the wrong gate so you can open the other one.

Software-Assisted Visibility Tools: ESP and Aura Features
All of the strategies above work much more effectively when there's no information deficit. However, when playing on a new map or with an inexperienced team, being able to see the killer's location, other survivors' auras, and generator statuses in real-time provides a serious advantage. This is where ESP (Extra Sensory Perception) and aura viewing tools come in.
In ForceCheat's Dead by Daylight product category, there are tools that display the killer's real-time location, hook positions, and other survivor auras. These tools allow you to apply the strategies we described above much more accurately: timely rescues, correct generator selection, and ideal route planning to avoid the killer. If you're looking for similar visibility advantages in different games, check out our PUBG Mobile tool category as well.
You can also refer to the content we've prepared for different gaming experiences: articles like top 5 strategies for high-level performance in Rust or our Unturned survival guide explain step-by-step how to gain advantages in different game types.
Conclusion
Dead by Daylight is an extremely deep strategy game beneath the surface. Every decision, from generator prioritization to loop management, from perk synergy to hook rescue timing, directly impacts the match outcome. The 9 strategies we shared in this guide are designed to make you a much more effective survivor, both individually and as a team.
Especially for those who want to gain an advantage in map knowledge and visibility, software-assisted tools make applying these strategies much easier. Knowing the killer's location, rescuing a hooked teammate at the right time, and choosing the correct generator — all of these are information-based decisions, and when you have more information, you make better decisions.
To discover tools that will support all these strategies, check out our Dead by Daylight category. ESP, aura viewing, and other features are waiting for you, and you'll feel the difference immediately in your next match. Also, if you're looking for advantages in different games, don't forget to check our Valorant category. Survival is now too important to be left to chance — with the right strategy and the right tools, control every match. Finally, we recommend checking our PUBG Mobile ESP enemy tracking guide; there you can also find how to use similar visibility mechanics in a different game ecosystem. Success in DBD comes down to information + strategy + the right tool combination. If you're ready, surprise the killer in your next match.
Frequently Asked Questions (FAQ)
Which is the best survivor in Dead by Daylight?
In DBD, there's no statistical difference between survivors; they all have the same base movement speed and generator completion time. The difference comes from the survivor's starting perks. While Claudette starts with support perks like "Empathy" and "Self-Care," David King starts with "Dead Hard." For beginners, Claudette or Jake Park are good starting points. In the long run, you'll need to open multiple characters to build your desired perk combination.
When should I stop working on a generator?
Consider leaving the generator when you hear sound effects or music indicating the killer is approaching. However, if the generator is over 85% and the killer is still far away, completing it might be advantageous. The "Spine Chill" perk is one of the most reliable ways to determine when to leave a generator, as it alerts you when the killer is looking at you.
How do ESP tools work in DBD?
ESP (Extra Sensory Perception) tools work by reading the game's memory data to display the killer's location, other survivors' auras, and important game objects (hooks, generators, hatch) on your screen. This, especially on new maps or with inexperienced teams, fills the information gap and allows you to make much more informed decisions. For detailed information, you can check our DBD product page.
What should I do if the killer is "tunneling" me?
Tunneling (being chased again immediately after being unhooked) is one of the most frustrating killer strategies. The most effective perks against this are: "Off the Record" (80 seconds of aura hiding + Endurance), "Decisive Strike" (5-second stun), and "Mettle of Man" (Endurance after 3 protective hits). Also, try to head to an intense loop area immediately after being unhooked; make the killer endure a long chase.
Where does the hatch spawn?
The hatch opens at a random point on the map when the last survivor remains. However, there are certain spawn patterns: it usually appears near the middle of two generators, inside large structures, or in the map's edge areas. The "Left Behind" perk shows the hatch's aura when you're the last survivor. If the killer closes the hatch, you have a chance to open a gate; check both gates and lead the killer to the wrong one.
How do I coordinate with my teammates?
DBD's built-in communication system is limited; that's why external voice communication tools like Discord are very valuable. If there's no voice communication, the "Kindred" perk allows the hooked player to see other survivors' locations and understand who can come rescue them. Moving to another generator immediately after completing one and prioritizing healing injured teammates are the basic rules of silent coordination.
Share this post
Top 5 Strategies for High-Level Performance in Rust
4 Ways to Prevent Beginner Mistakes in Rust Aimbot Settings
// related posts
Related Posts
Marvel Rivals Aimbot Experience: The Path to Quick Wins
Discover how aimbot and other cheat tools work in Marvel Rivals, which features will give you the edge, and how to choose the right tool for your playstyle.
October 9, 2026
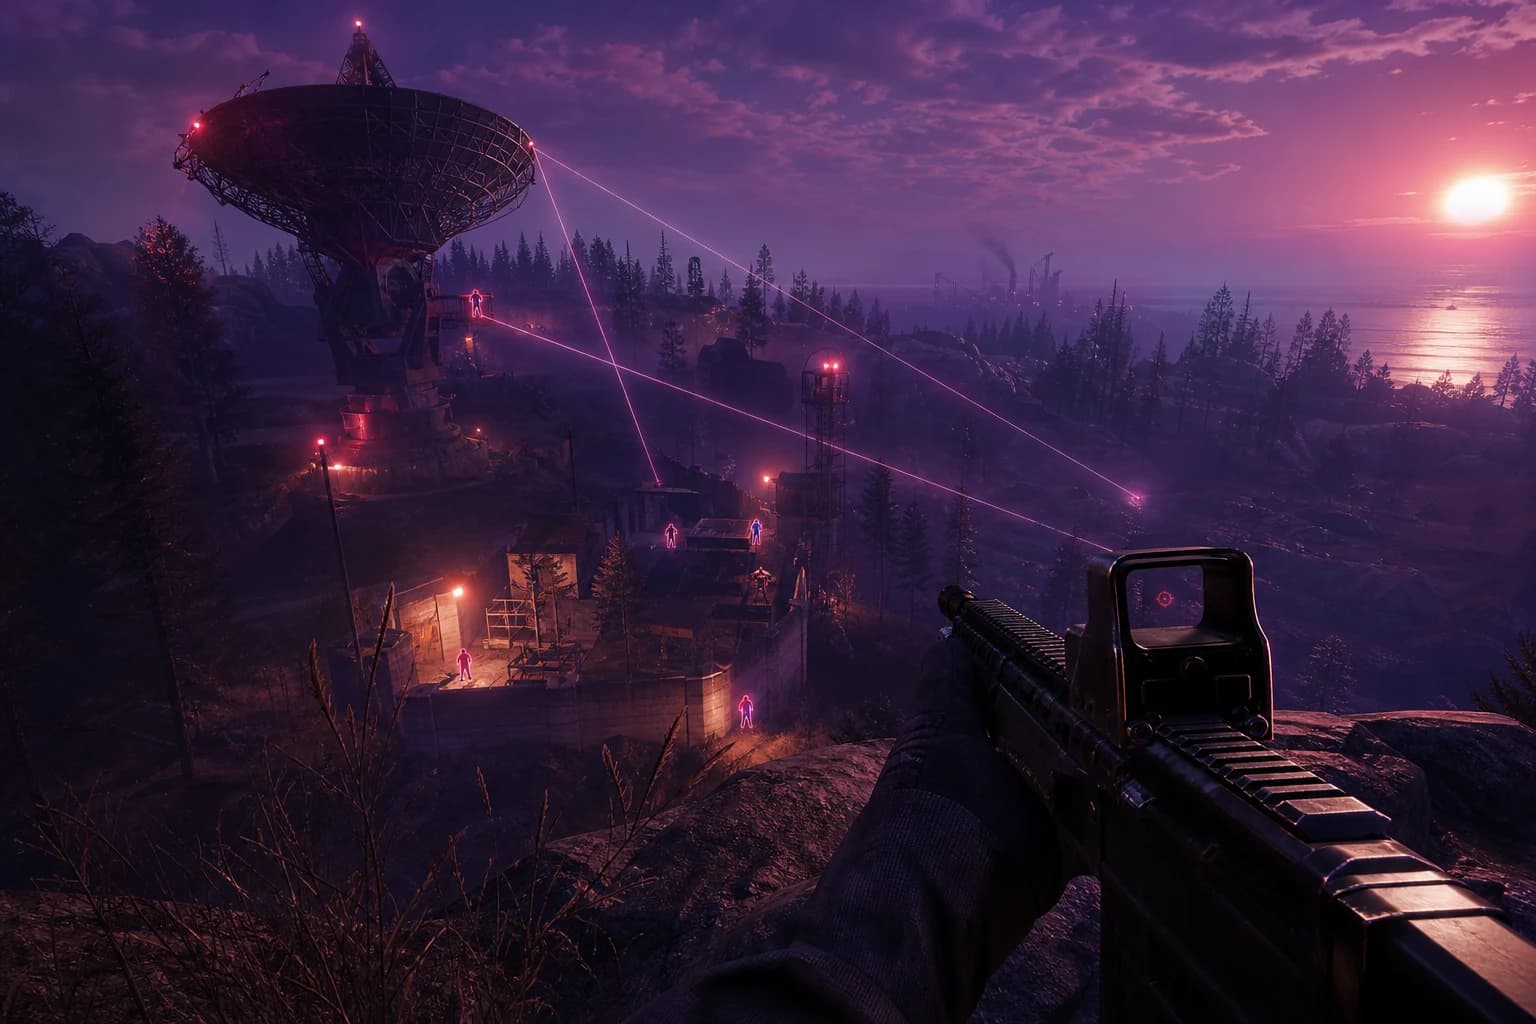
Rust ESP Map Control: Seeing Enemy Positions in Advance
Master map control in Rust using ESP to see enemy positions beforehand. Discover optimal settings, profiles, and strategies for dominating the game in this comprehensive guide.
October 8, 2026

PUBG Final Circle: Best Settings and Strategies to Win
Struggling in PUBG's final circle? Master the right cheat settings and configurations to turn every endgame in your favor. Complete guide to dominating the final zone.
October 8, 2026